 THERMOStart your projectGet a quote
BUILDERS FIRSTSOURCE · ISSAQUAHGet a local Maximo consultation
Project guidance · Installation & care
Installation thatremoves guesswork.
Thermally modified wood is more dimensionally stable than untreated wood, but the finished assembly still depends on correct storage, ventilation, fastening and coating decisions. Use this guide to plan the work, then confirm the current instructions for the selected Maximo profile and project conditions.
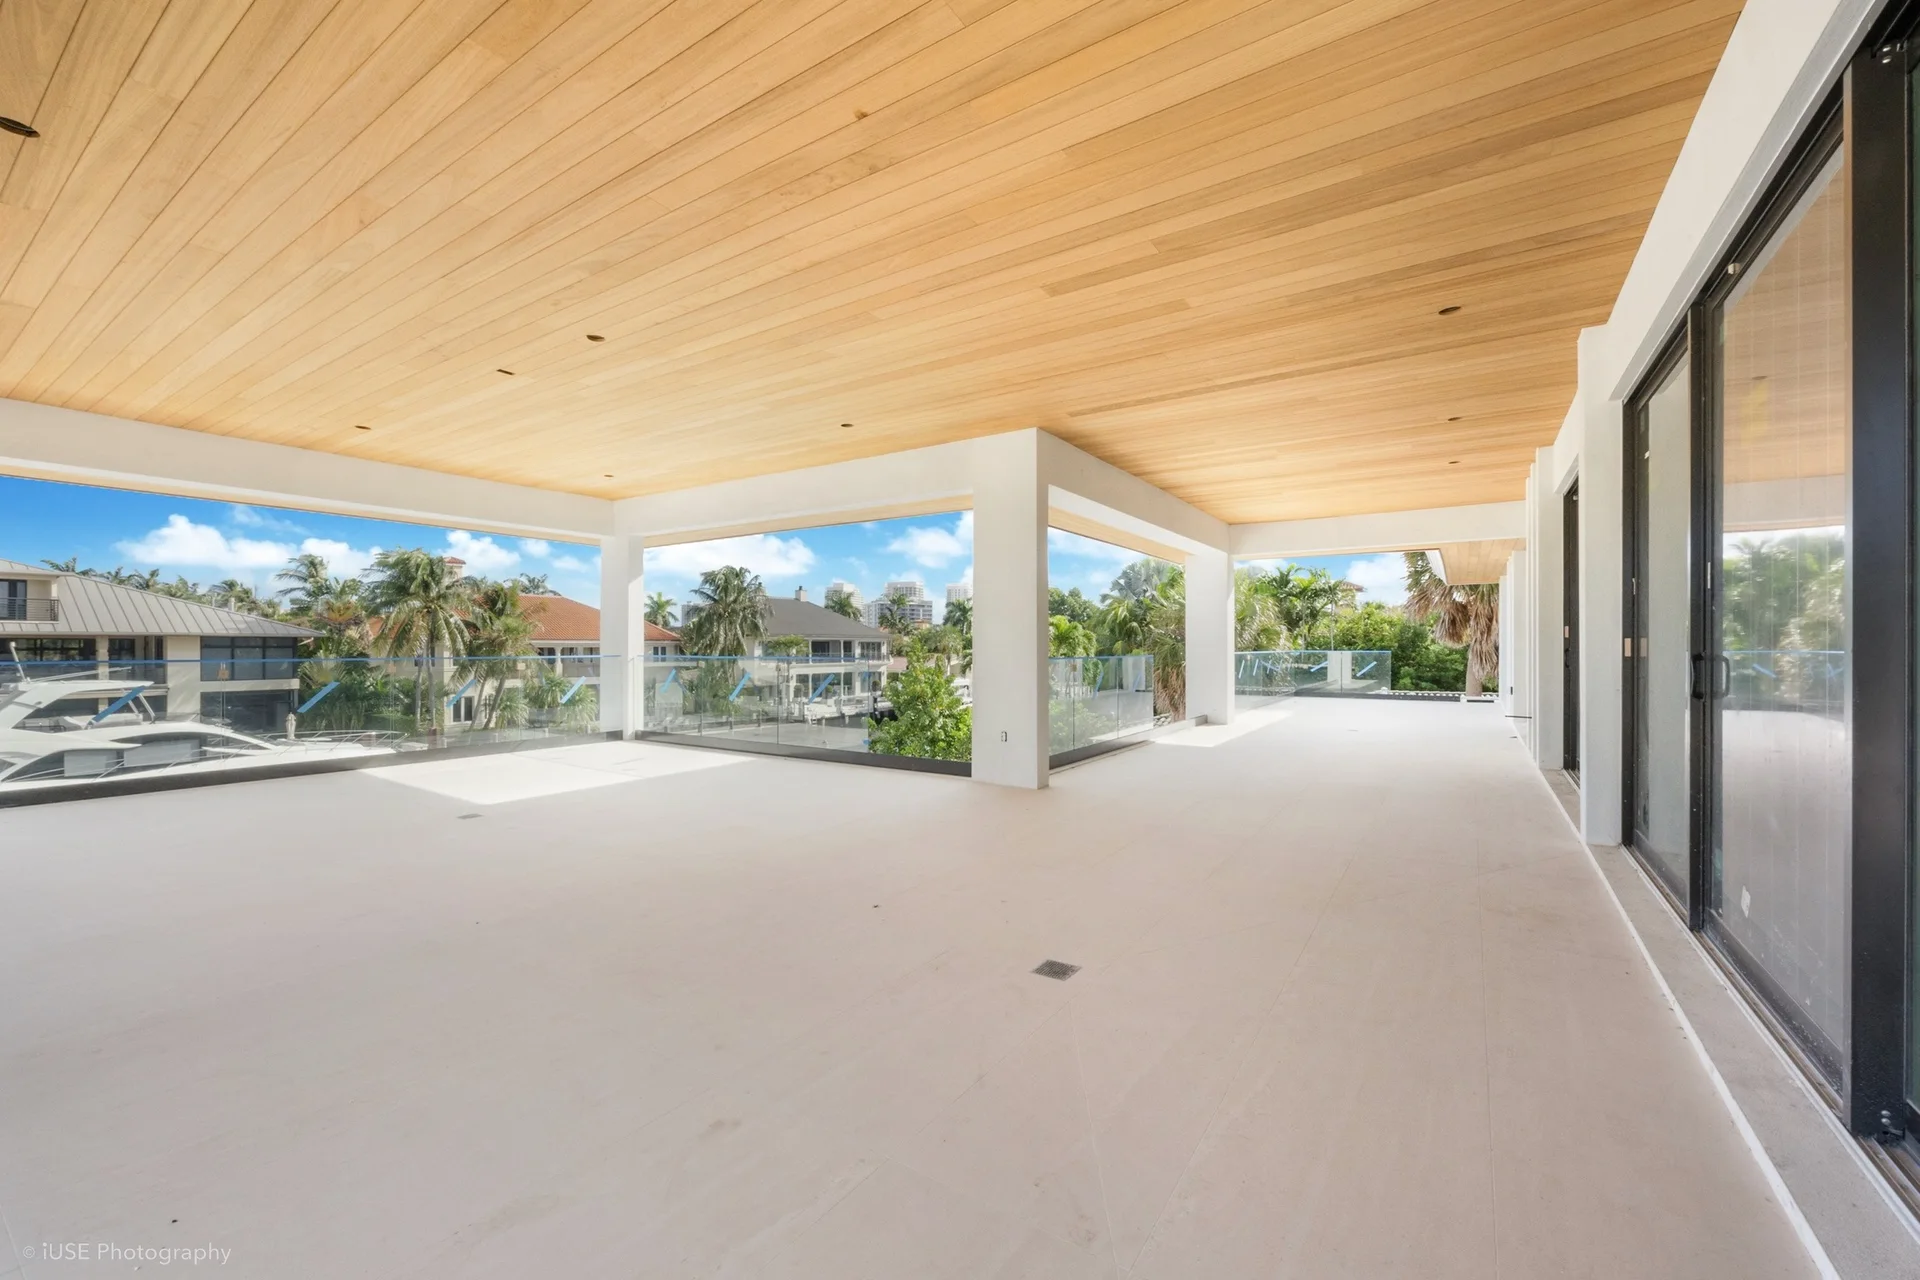
INSTALLATION SYSTEMRainscreen · stainless steel · sealed cuts
01
Project detail
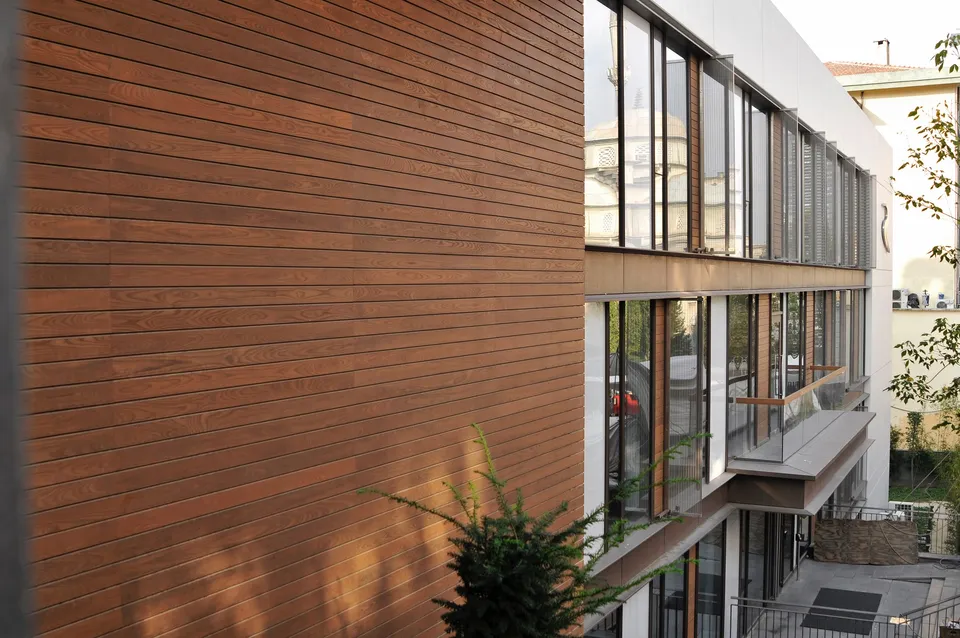
Jobsite Storage & Acclimation
Keep boards dry, supported and ventilated before installation
Thermal modification lowers the wood’s equilibrium moisture content and reduces its response to humidity. Uninstalled boards can still absorb surface moisture, so bundles should remain covered, elevated from the ground and protected from standing water.
Support boards evenly on level dunnage and keep air moving around the bundle. Do not place the material directly on damp concrete, wet framing or soil, and avoid trapping wet boards inside unventilated plastic.
Maximo’s siding guide calls for at least 48 hours of acclimation at the installation location. Keep the material under cover during this period and inspect it before layout.
Before installation
Keep the boards clean, dry and evenly supported. If material arrives wet or damaged, pause installation and contact the supplier before fastening it to the building.
02
Project detail
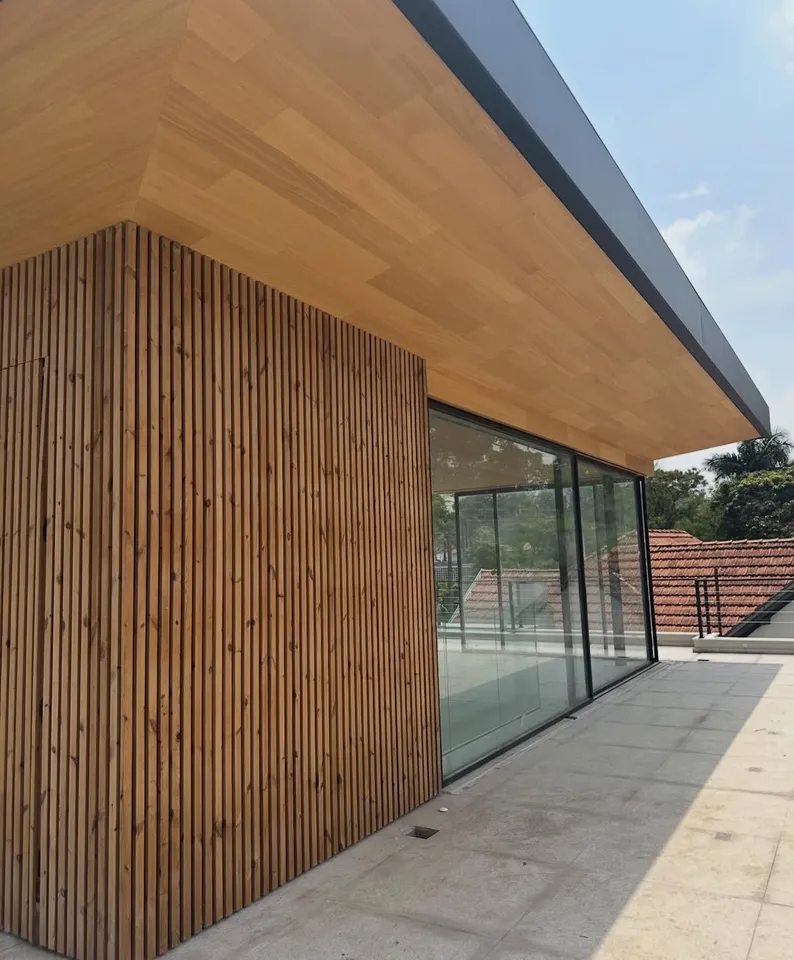
Ventilated Siding Assemblies
Provide drainage, drying and the correct supporting structure
For Maximo siding, the current installation guide calls for furring strips at least 3/4 inch thick and spaced no more than 24 inches on center. The wall assembly must provide a continuous path for drainage and ventilation behind the boards.
The furring direction depends on the cladding orientation. Vertical siding may require a cross-batten or other approved strategy so horizontal supports do not block vertical drainage. Coordinate insect screening, flashings and transitions with the complete wall design.
Soffits, ceilings and decking use different support and ventilation details. Confirm the selected profile’s intended application and the project-specific requirements before installation.
| Condition | Maximo guidance | Confirm for the project |
|---|---|---|
| Exterior siding | Furring at least 3/4 inch thick and no more than 24 inches on center | Water-resistive barrier, flashing and ventilation path |
| Openings and grade | Maintain the guide’s clearances and gaps around openings | Local code, site drainage and trim details |
| Vertical siding | Keep drainage and airflow continuous behind horizontal supports | Approved cross-batten or alternate assembly |
| Soffits and decking | Use the instructions for the selected profile and application | Support spacing, ventilation and loading requirements |
03
Project detail
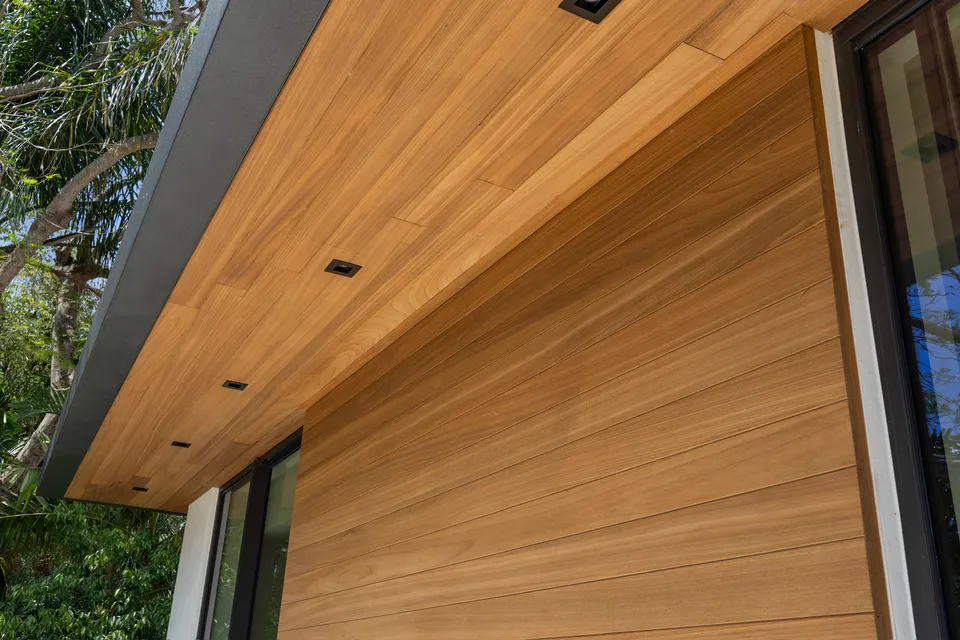
Fasteners, Sub-framing & Spans
Select corrosion-resistant fasteners for the species and application
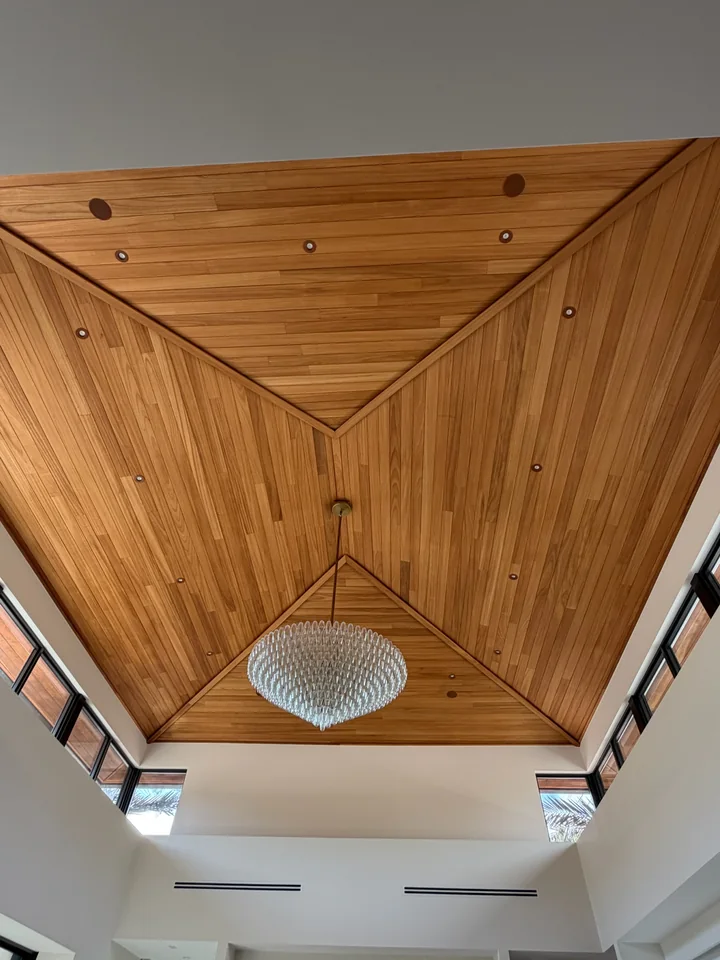
Maximo’s exterior installation guidance specifies stainless steel fasteners to reduce corrosion and staining risk. Fastener type, length and spacing depend on the profile, species, substrate and exposure.
For Ayous siding, Maximo’s guide allows stainless steel nails installed with a nail gun and concealed through the profile grooves. This is not a blanket concealed-fastening instruction for square-edge boards or other species. Confirm the selected SKU before work begins.
For exterior applications, Maximo strongly recommends screws, particularly for Thermo Clear Radiata and Scandinavian Thermo. The Ayous nailing option should not be transferred to these species.
Pre-drilling is recommended for all fasteners because thermally modified wood can be more brittle than untreated lumber. Take particular care at board ends, edges and dense profiles.
Fastener selection
Use exterior-grade stainless steel fasteners and verify the current Maximo schedule for the chosen species and profile. The project designer should confirm substrate penetration and any coastal or structural requirements.
04
Project detail
Ceilings & Soffits
Choose a ceiling profile, then confirm the overhead assembly
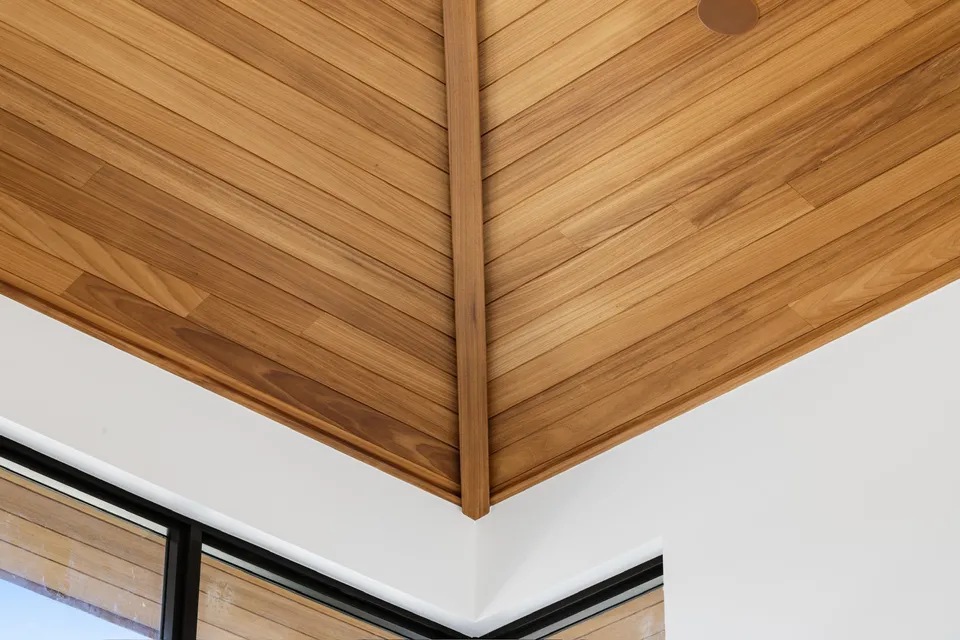
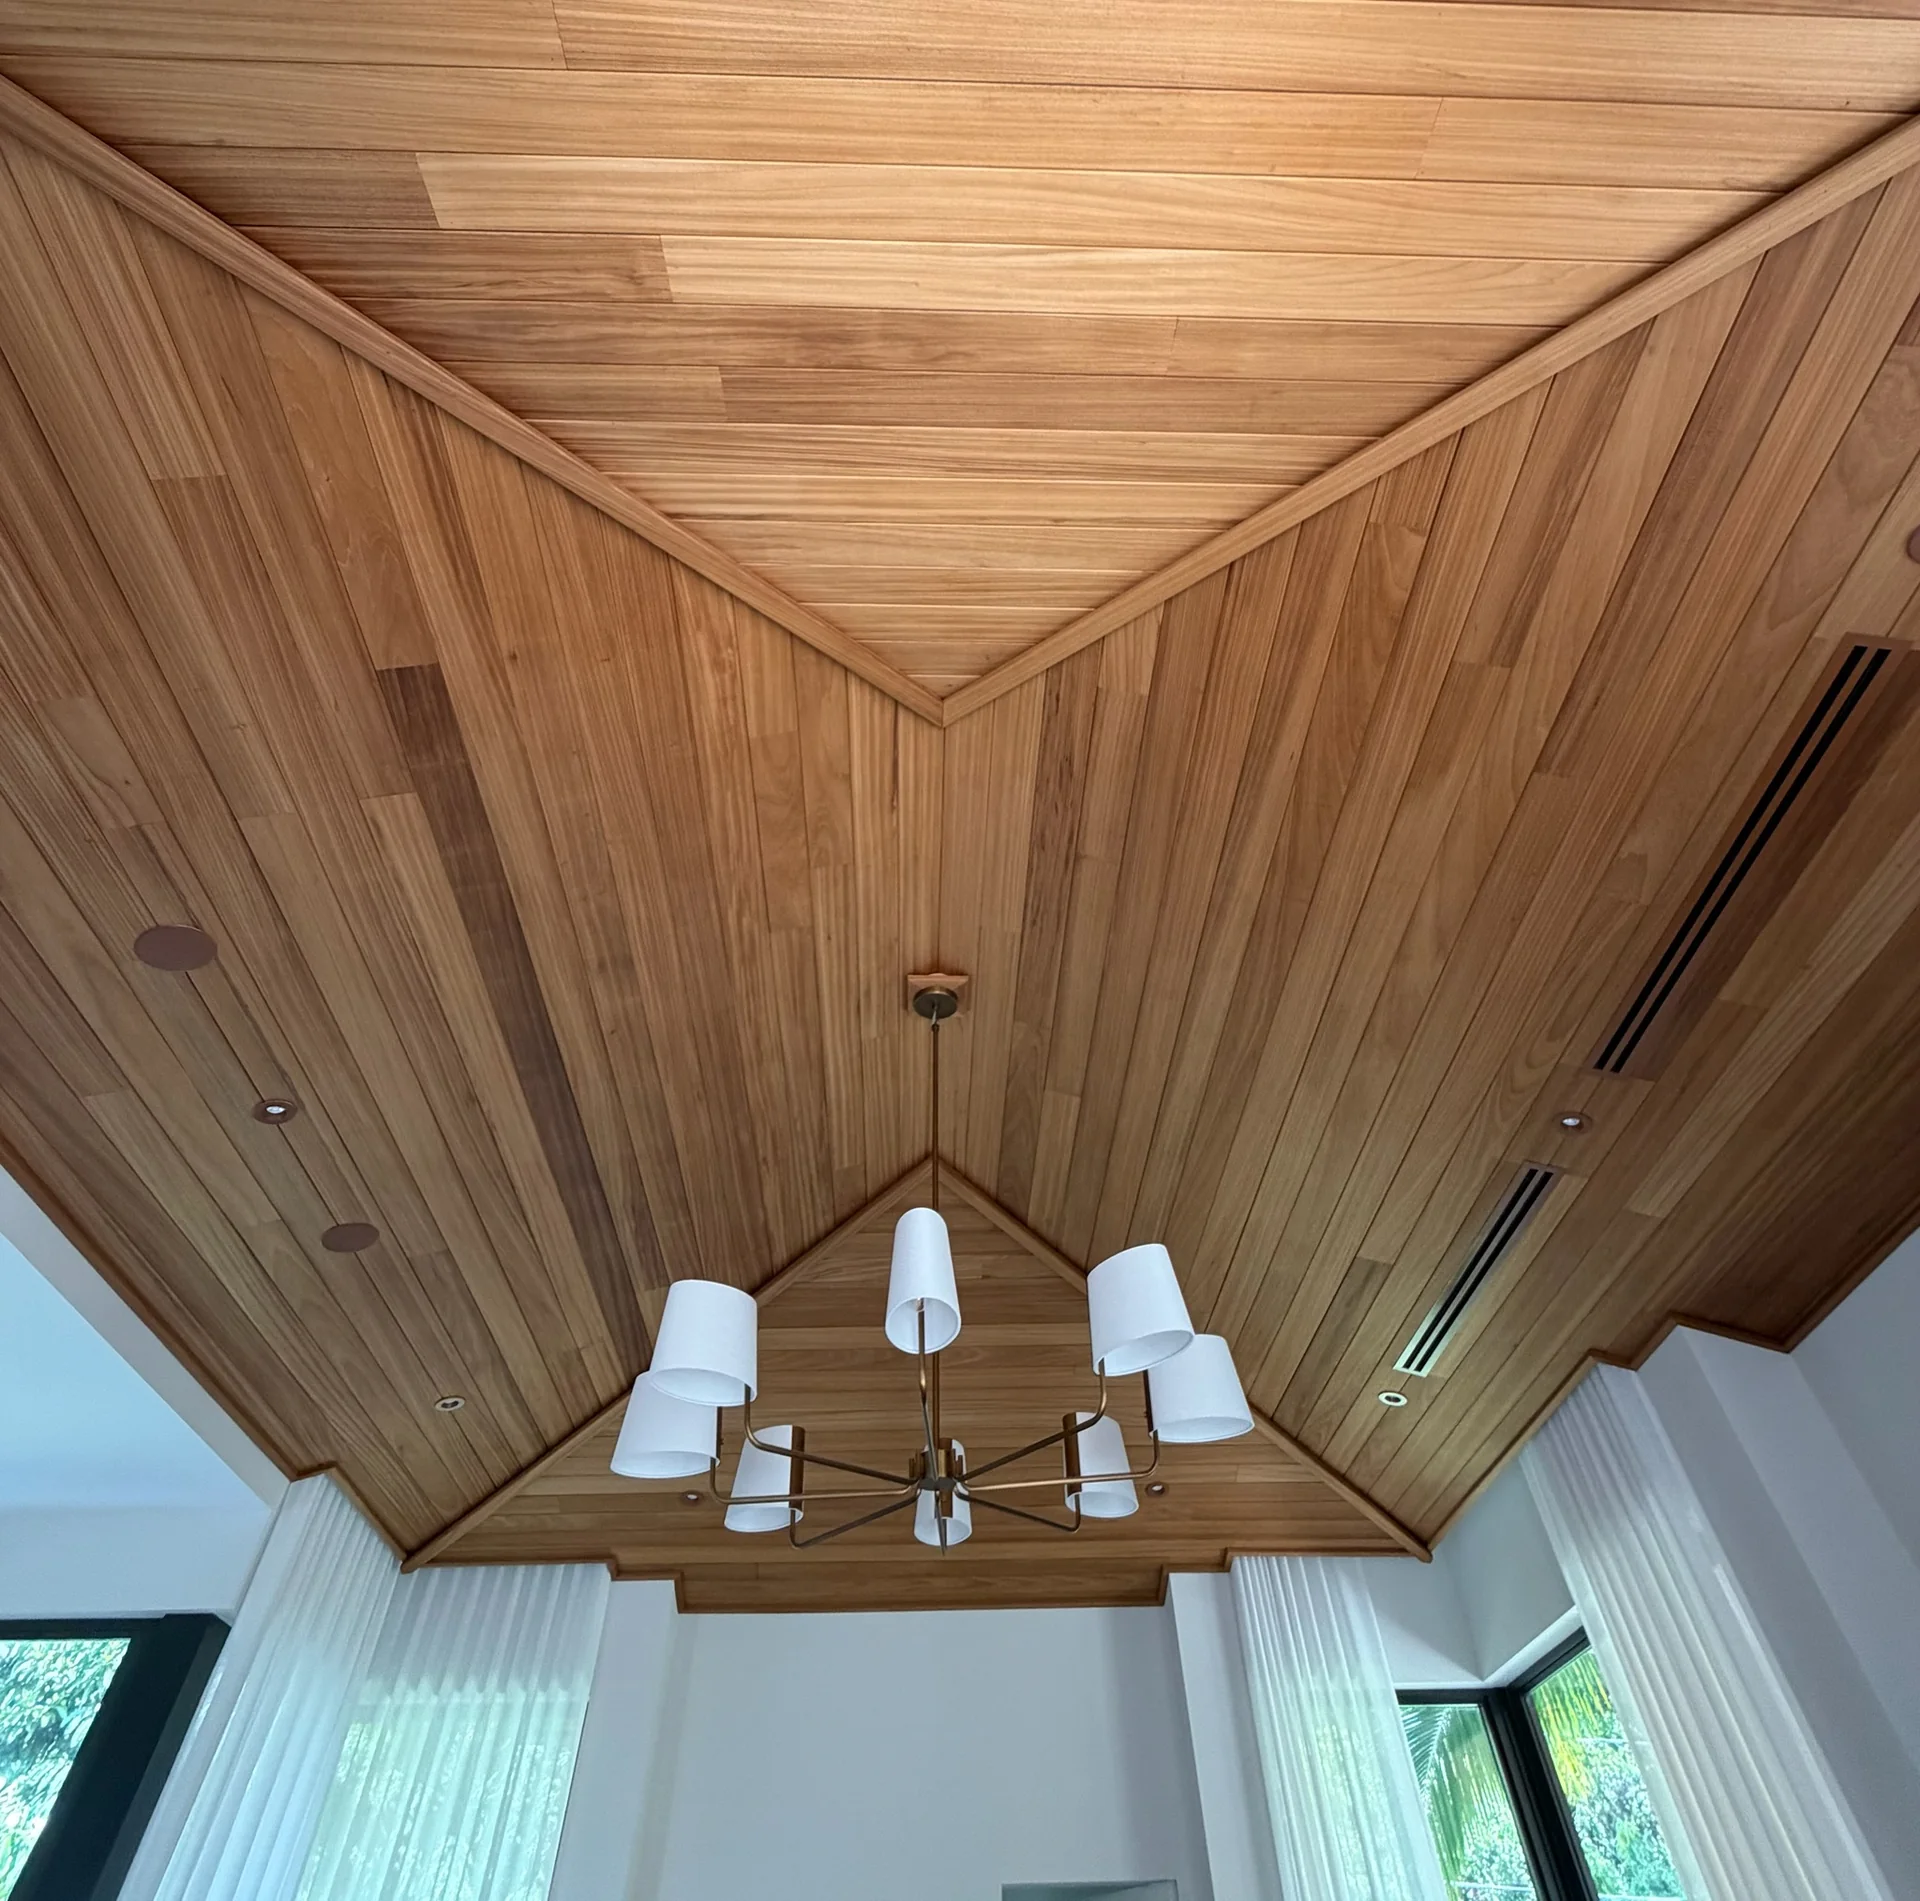
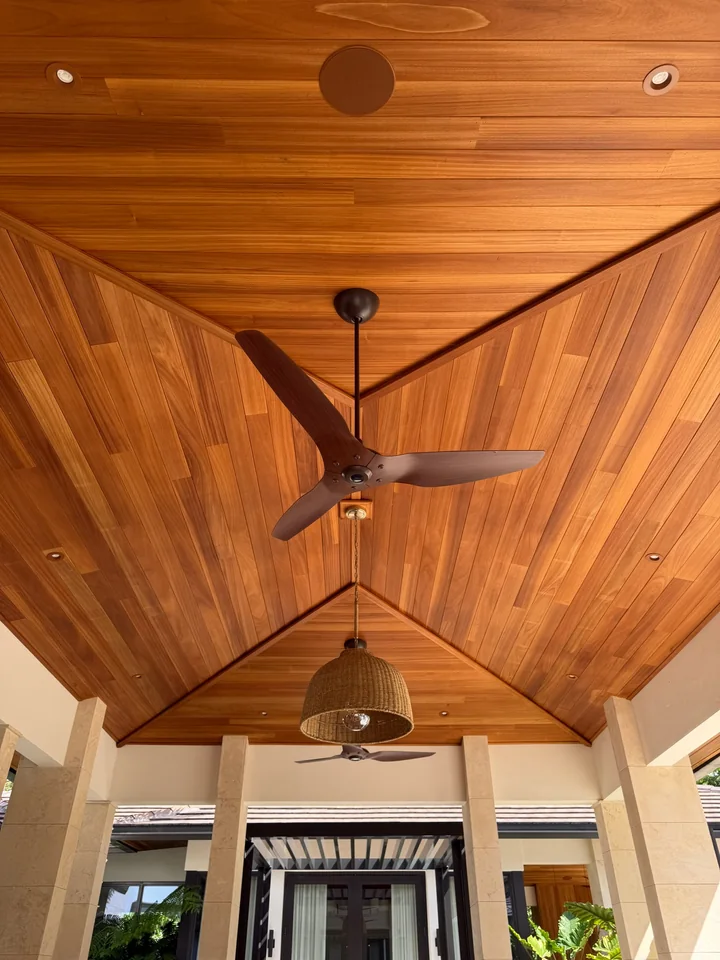
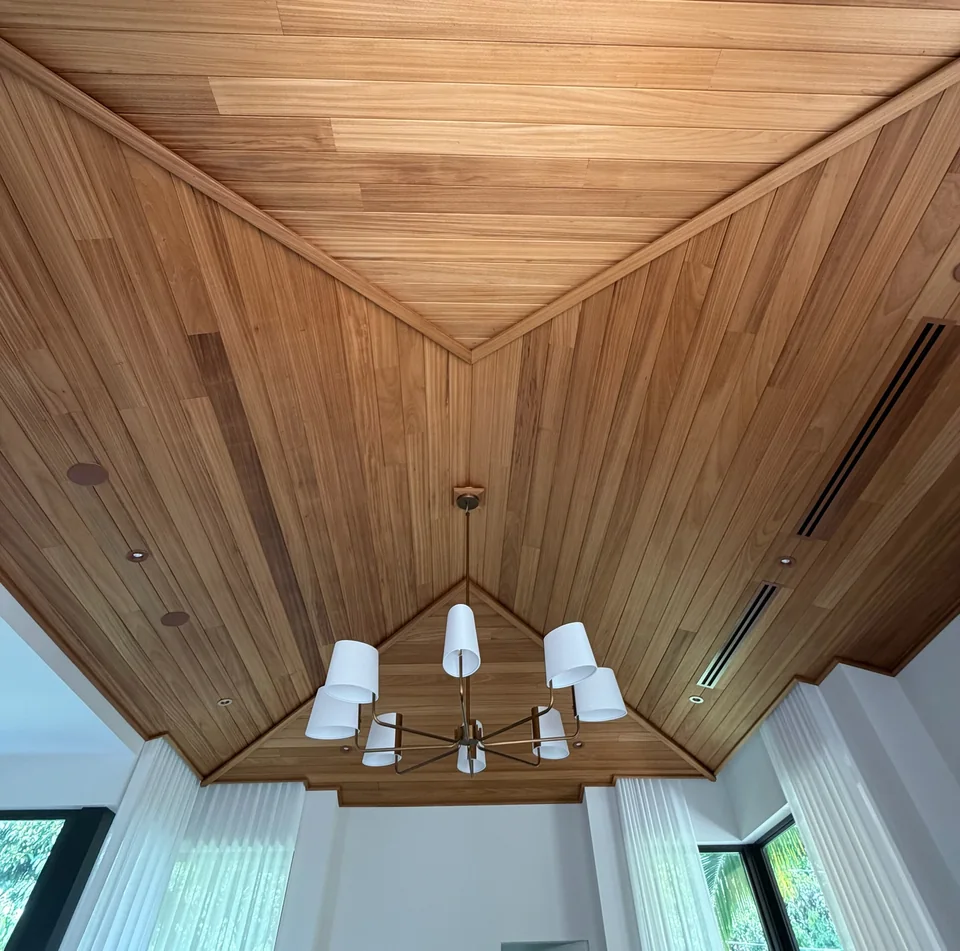
The Maximo 2026 catalog includes Thermo Ayous S4S E4E, V-Joint / Nickel Gap and Fluted #5 profiles in its Siding & Ceilings selection. Their edge geometry differs; use the drawing and sample for the exact product ordered.
A cataloged ceiling application does not establish support spacing or an overhead fastening schedule. Before installation, request Maximo’s written detail for the selected SKU, substrate and exposure, including fastener type, spacing, penetration, end-joint support and ventilation.
The public siding guide reviewed for this page is not a dedicated ceiling or soffit installation manual. Do not apply its wall furring dimensions or Ayous siding nailing option to overhead work without application-specific confirmation.
Bring the ceiling detail into the quote
Ask BFS Issaquah to help obtain the current manufacturer instructions with the material submittal. Include the room or covered-exterior location, board direction, supporting structure and planned finish.
05
Project detail
Machining, Field Cuts & End Sealing
Use sharp tools and protect every exposed field cut
Thermally modified boards machine cleanly when tools are sharp and the workpiece is fully supported. Test the setup on an offcut, use a steady feed rate and avoid impacts that can split thin edges or detailed profiles.
Treat field cuts, notches and exposed ends according to the selected finish system and the current Maximo instructions. Cut-end protection helps limit localized moisture uptake and keeps the finish appearance consistent.
06
Project detail
Maintenance & Natural Weathering
Choose between natural graying and color retention
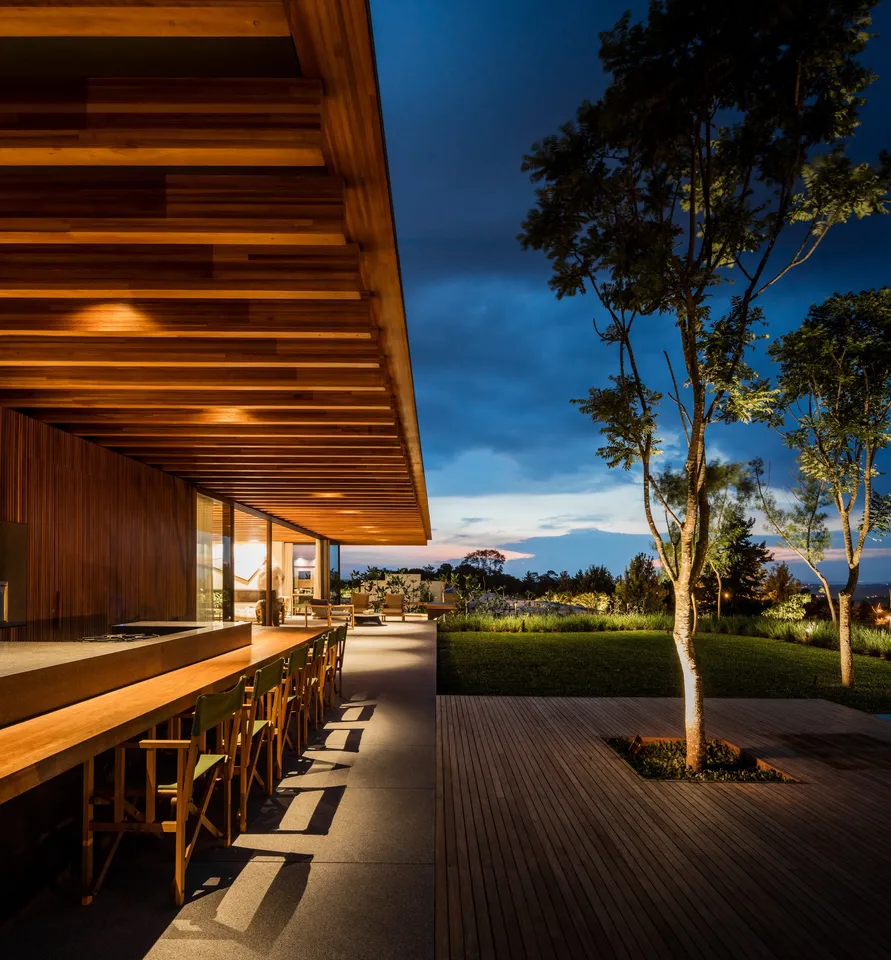
Like other natural wood, uncoated thermally modified wood changes color under ultraviolet light and weather exposure. The surface can move toward a silver-gray appearance while the underlying thermal modification remains part of the material.
To retain the original brown tone, use a compatible pigmented exterior coating and follow the coating manufacturer’s preparation and maintenance instructions. Inspection and recoating frequency vary with exposure, orientation, color, assembly and local conditions.
| Finish approach | Ongoing care | Expected appearance |
|---|---|---|
| Natural weathering | Clean and inspect; address staining or biological growth promptly | Gradual silver-gray surface color |
| Pigmented exterior finish | Inspect and recoat as the finish manufacturer directs | Longer retention of the selected brown tone |
| Custom coating system | Confirm compatibility, coverage and renewal procedure | Project-specific color and sheen |
The installation detail
Thermo Ayous.
Details that matter.
Beautiful surfaces start with the right board, the right joint and the right support. Here is how this profile fits into the plan.
Your profile
1x6
V-Joint / Nickel Gap
CATALOG CROSS-SECTION
Joint relationship. Enlarged for clarity, not to scale. Joint spacing is illustrative. Use the approved detail for installation.
The joint is in the profile.
The catalog drawing shows the machined tongue and groove. Confirm the current cross-section, coverage and orientation for the selected SKU.
Concealed nails. An Ayous option.
For Ayous siding, Maximo allows stainless steel nails installed with a nail gun, concealed in the profile grooves. Confirm the exact SKU and fastening schedule before installation.
A wall that can dry.
For siding, Maximo calls for furring secured to studs and ventilation behind the boards. Coordinate the drainage path, openings and clearances with the wall design.
Keep the project moving
Choose the detail
you need next.
Where to buy in Issaquah
Builders FirstSource Issaquah
Catalog available by consultation. Contact the Issaquah team to confirm availability, sample kits, and lead time for your selected Maximo profile.
Issaquah, WA 98029
(425) 391-8000
Monday–Friday, 7:00 AM–4:00 PMDealer information verified August 31, 2026. No in-stock claim is made on this site.
Request a local quote
Put this profile
on your project.
Tell us what you are building. Our team will review your wood selection and contact you to coordinate a Maximo consultation with Builders FirstSource Issaquah.
Frequently Asked Questions
Common project
questions
Can Thermo Ayous siding be installed with a nail gun?+
Yes. Maximo’s siding guide allows stainless steel nails installed with a nail gun, concealed through the profile grooves. Confirm that the ordered SKU supports this detail and resolve pre-drilling and tooling with Maximo before installation. This does not establish an overhead fastening schedule.
Can I use the siding instructions unchanged for a ceiling or soffit?+
No. The catalog identifies profiles suitable for ceilings, but the project still needs a confirmed overhead support and fastener schedule. Ask Maximo for the SKU-specific ceiling or soffit detail, including end support and exposure requirements.
Is pre-drilling always required when fastening thermally modified wood?+
Maximo recommends pre-drilling for all fasteners. The appropriate bit, fastener and edge distance depend on the selected species and profile, so use the current product instructions for the final schedule.
Can I install Maximo Thermo siding directly over OSB or plywood without furring?+
Maximo’s siding guide calls for furring strips at least 3/4 inch thick to create ventilation behind the boards. The complete wall assembly, including the water-resistive barrier and flashing, should be approved for the project and local code.
What happens if I don’t seal the field cuts with end-grain sealer?+
Unsealed end grain allows capillary moisture absorption during rain events, which can cause localized swelling, discoloration, and potential end-checking at joints.
How do I clean thermally modified wood siding and decking?+
Use gentle cleaning methods compatible with the wood and its coating. Maximo advises against pressure washing because it can damage the wood surface. Follow the coating manufacturer’s cleaning instructions and test any cleaner in an inconspicuous area.
Product and installation references